Week 8 (17/5/22) - Week 15 (10/7/22) Student: Tai Ser Yeet (0345798) Programme:
Bachelor of Design (Honours) in Creative Media Task: Task 3- Graphic Novel & Final Project Motion Comic
WEEK 8
LECTURE REPORT- 3 ACTS STRUCTURE
Act 1 - Setup
Once upon a time, there were two lovers, Dog & Cat who
lived in a box at a quiet alleyway. Shortly after their marriage,
Dog was hit by a large truck and was pronounced dead on the spot.
Upon hearing the news, Cat’s world instantly turns monochromatic as
she griefs the loss of her lover.
Act 2 – Conflict
One day, while she was clearing Dog’s belongings from their
home, she hears a familiar tune. It was the same tune that she
always dances to with Dog. Curiously, Cat follows the tune until it
leads her under a white car. She was reluctant to climb under but in
the end, she did it anyway.
Waiting for her was Evil Dog and his partners. Evil Dog has always
loved Cat from afar but never pursued his feelings due to the fear
of Dog’s presence. Now that Dog was gone, Evil Dog could pounce on
Cat. Because of that, Evil Dog confessed his profound love
for her but Cat did not feel the same way and rejected his love.
Because of that too, Evil Dog did not handle the rejection
well & he ordered his partners to beat up Cat.
Act 3 – Resolution
Finally, Evil Dog was about to bite her throat when the familiar tune
plays softly once again in the background. This time, the tune was
coming from Dog who appears from the shadows. In the pursuit to save
his wife, Dog then singlehandedly defeated Evil Dog and his partners
with the use of his magical powers. After the battle, the world
returns to a colorful setting as Dog & Cat were reunited once
more. However soon after their reconciliation, Dog begins to fade
away. Cat falls to her knees and cries with sorrow as grief
overwhelms her once more. The End.
WEEK 9
LECTURE- CONTINUITY IN COMICS/ TRANSITIONS
Moment to Moment -
slows down the pace of the story
think of it as a blink or two between seconds of a
film
only takes up 2 or 3 panels (can have more if its
small panels)
creates suspense/ dramatic scene
concentrates the action or reaction of the subject,
moment stays the same throughout the transition (just
zooming into smtg) (e.g first frame- medium shot then
second frame- close-up shot)
if utilized too much, can make your comics dull &
laborious
e.g getting closer to an insect but separating into 3
frames, sweat trickling down someone's forehead
gives chance to explore how you want to portray the
character's behavior and reaction to the story
Action to Action -
action & a reaction
e.g the first frame is a baseball player getting ready
for the flying baseball and the second frame would be
him swinging the bat. Another example would be 1. Wine is
poured into a glass 2. A man sips wine 3. Man burps
loudly
Subject to Subject -
interchanging to various subject matters in the story
(e.g first panel focuses on the guy saying smtg to the
girl, second-panel shifts to the woman so shes is drawn
bigger then back to the guy in the third panel with his
reaction)
typically used for showing conversations
portraying over-the-shoulder shots
e.g 1. a man attempting to kill another man 2. display a
shot of buildings with text expressing a scream.// 1. guy
crosses the finish line in a race 2. close-up shot of
someone clicking the stopwatch// 1. man asks a rhetorical
question, 2. A woman answers the man's question 3. shot of
a phone ringing
Scene to Scene-
frames differ from timeline, geography
the various panels can happen in one location
too
How do you subtly hint at the setting of the story?
Answer: e.g you have an interaction going on between the
characters in a building (interior). After that, a panel
is dedicated to showing the Hollywood sign (indication of
where the building is situated) and the next panel is an
establishing shot of the building exterior.
Aspect to Aspect -
used a lot in the introduction to establish the scene (
first forest, man in sunglasses then clouds)
frames happening all at the same time &
moment
e.g subject is a building so various shots would be
capturing different aspects of what's going on in the
building. Basically, what different angles of the same
subject
e.g 1. close-up shot of eyes & body language
then
have a central theme so the frames do not stray so far from
each other
e.g introduce a female character with a stunning outfit,
eyes, lips, earrings, body etc but all in different
panels
e.g could have different panels with shots of various sides
of the same house. The character's dialogue can already
start showing on screen then slowly it would show the actual
people that had the conversation in a certain place.
Basically, as if the reader is overhearing the convo from
outside the building as a third party.
Point of View -
different transitional shots to manoeuver with the tempo
of the storyline (slo-mo at some parts)
understanding the audience is neurotypical (the brain
functions as expected like usual)
Symbolism -
can be used for flashbacks, inner dialog, partial
montages
symbolic transitions deal with the unreal, the
imagined
have the readers move from a recalled space to a real
one.
e.g first panel, a girl says, "I feel like my chest is
burning". Next panel, is tentacles burst out of her
chest.
Tips:
-
could also have a combination of a few transitions in the
panels.
INSTRUCTIONS
Fig 1.1 Module Information Booklet,
Week 9 (24/5/22)
WEEK 9
GRAPHIC NOVEL
Fig 2.1 Instructions to Decisive
Moment, Week 9 (24/5/22)
60 panels = 3 episodes
1 episode = 20 panels
800x 1280 = typical canvas size for 1
page
800x 7680 = 6 pages
RESEARCH
I went on YouTube to learn more about ways to effectively
create page panel layouts.
According to
Ostlie, 2020, before creating each panel...
1. Determine what's important
Character
Object
Location
Emotion
Action
2. Composition
Use Rule of Thirds
Place object off-center/ at the intersection points of
ROT
Play with depth by overlapping subjects to bring
viewers into a 3D space
Angle drawings are superior to straight due to their
dynamicity and depth
Let the main subject fill the frame instead
of giving equal priority to the dialogue and sound
effects
Avoid spending too much time in the background/ or having
too much detail because it could distract the viewer's
attention from the focal point
3. Mental Map of Location
Draw a rough view of the setting
Include objects, furniture, and area where the
characters are standing
Remember the 180-degree rule for camera
placement and where it can move
The left picture is better because it follows ROT, is
angled, has depth to it, and helps the viewers imagine
that they are in the space
Write a list of important points you wanna convey to the
reader & cool ways to do it
Show, don't tell. Don't show the evil guy is in fact,
evil. E.g you can illustrate them to be violent by kicking
an animal.
Ask yourself when doing each Act, "why do I need to draw
this? Why is it necessary that my readers know what the
character is doing?"
Too many backstories would slow down the momentum or too
many conversations would not get your story anywhere
For Act 2- Conflict, it is a big chunk of the story
therefore it's best if it gets broken down further into
more mini 3 Act Structures.
E.g Character learns they have to kill the evil demon.
But before that, they must learn to fight. To learn to
fight, they need to seek an old master who was missing for
years. To find the master, they need to find a history
book in a forbidden library. Halfway through, they need to
stop because their horse was shot down.
Essentially, problem to solution and again &
again.
Fig 2.3 Modern Alleyway, Week 9 (24/5/22)(Source: Goodreads & ForD Nguyen)
CHARACTER DESIGN
CAT
Fig 2.4 Duchess, The White Cat from The 1970s Aristocats, Week 9 (24/5/22)Source: DeviantArt
Fig 2.5 Puss In the Boots & Tom, Week 9 (24/5/22) Source:Wikipedia
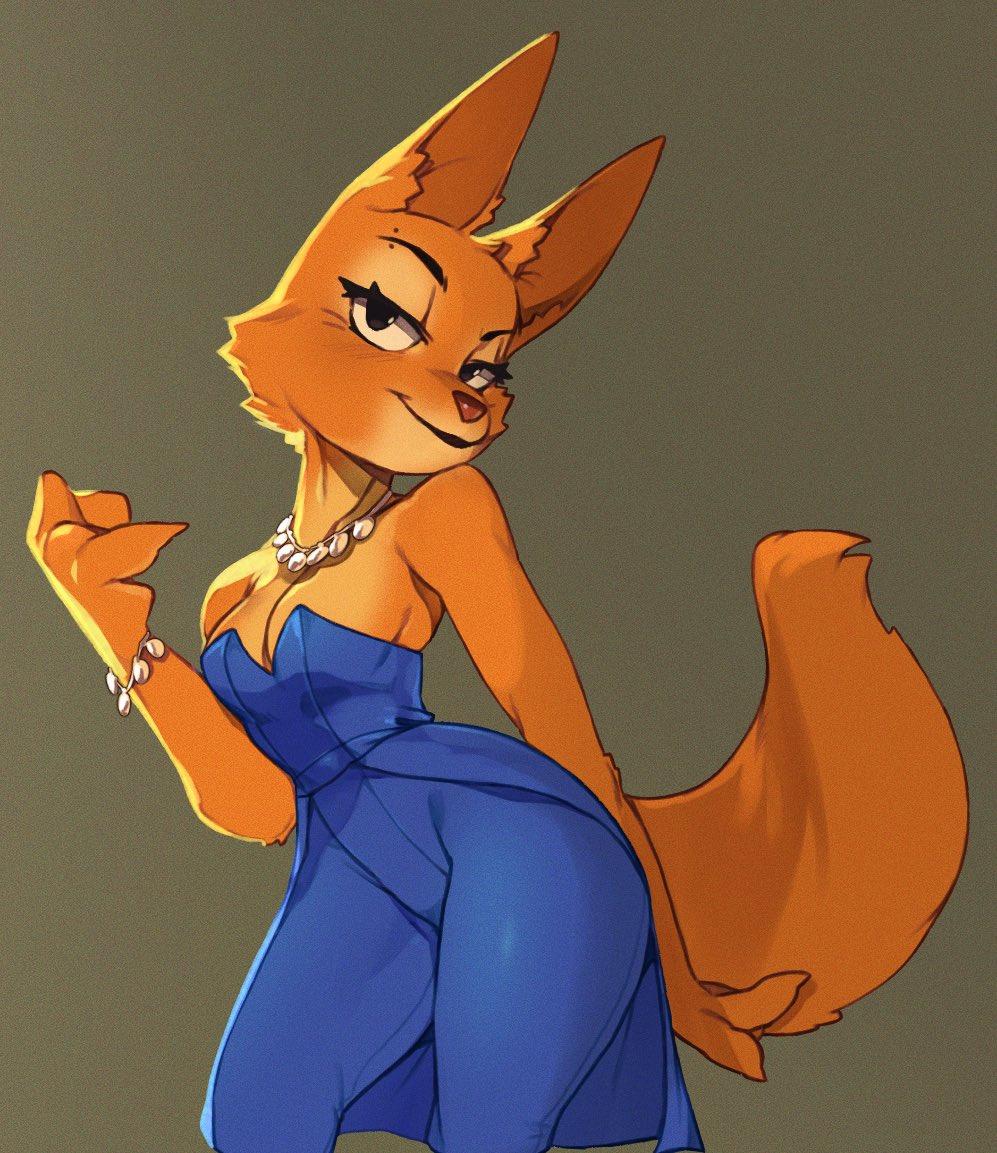
Fig 2.6 Diane Foxington, Week 9 (24/5/22)(Source: Know Your Meme)
I came across this webcomic showcasing the protagonists &
antagonists as animal characters which aligned with my
intention of starring animal-human-like subjects as
well.
I could imitate the scene by replacing the middle subject as Dog who is
looking very sad to leave Cat. Meanwhile, Cat is caressing his
cheek and begs him to stay.
Fig 2.9 Dog Looking Sad, Week 9 (24/5/22)(Source: WEBTOON)
Another movie that is similar to my webtoon cast would be
a 2008 family movie known as "Bolt" which features a dog(Bolt),
a cat & a hamster embarking on an adventure to find Bolt's
owner in the streets of Hollywood. I also managed to obtain
pages of the comic version of the movie as a reference.
In this short film called "Paperman" by Disney, I noticed that in
order to connect the first and second scenes, the first character
would have to first look in the direction of where the second
character is positioned before cutting to the next scene. This helps
the viewers understand the relation between two separate angles. To
further provide guidance, an over-the-shoulder shot is used whereby a
quarter of the first character appears at the corner of the
frame.
I went ahead & searched the Internet for ways to express sound in words so that the audience could envision the scene easier.
Fig 5.1 Scouring the Internet for Fonts, Week 15 (10/7/22)
I ended up downloading the fonts, SF-Arch-Rival & crashlanding-bb as stated in one of the articles because I wanted the webtoon to resemble the usual comics instead of making it unique.
Fig 5.2 Fonts Used for Sound Effects & Text, Week 15 (10/7/22)
Fig 5.3 Adding "Whips" Word Expression, Week 15 (10/7/22)
Fig 5.4.1 Creating Single Speech Bubble With Pointers, Week 15 (10/7/22)
Fig 5.4.2 Adding Dialogue into Bubble, Week 15 (10/7/22)
I took inspiration from the motion comic series , I Am Legend produced by Warner Bros Entertainment.
Fig 6.1.1 I Am Legend Motion Comics, Week 15 (10/7/22)
Fig 6.1.2 I Am Legend Animated Comics 3, Week 15 (10/7/22)
IMPORTING INTO AFTER EFFECTS
Before beginning to animate my webtoon, I had to create multiple layers for some of the panels. I went onto Illustrator & separated the elements that I wanted movement onto a single layer.
Fig 7.1 Placing Two Panels Each In a File, Week 15 (10/7/22)
Fig 7.2 Importing the Layers from Illustrator, Week 15 (10/7/22)
Fig 7.3 Adjusting the Canvas Size, Week 15 (10/7/22)
ACT 1 - SETUP
Fig 7.3.2 Scaling the Music Notes, Week 15 (10/7/22)
Fig 7.3.5 Applying Float in Transition, Week 15 (10/7/22)
Using the Puppet Warp, I first placed the Puppet Pins on the circumference of the tongue. It was crucial that I placed some on the back of the tongue so that when I move the other pins, that specific part would not deviate from its position. I then tried to animate Dog licking Cat's cheek before he heads off for work.
Because I faced problems after compiling the pre-composed clips, I then began copying & pasting the individual clips into a single composition. Hence, the long list of clips.
Fig 7.5.3 Compiling all Clips, Week 15 (10/7/22)
EXPORTING THE FINAL OUTCOME
Fig 8.1 Failed Render, Week 15 (10/7/22)
Assuming that there were too many clips in one file & my laptop did not have enough RAM to process the video, the exportation of video ultimately failed. It was so frustrating and nerve-wracking at the same time because if I could not render the final video, I wouldn't know what else to do.
Luckily, I thought quick & tried splitting the video into 4 parts so that less processing power is needed to export the video. It worked.
Fig 8.2 Process of Rendering 1 Part, Week 15 (10/7/22)
IMPORTING INTO PREMIERE PRO
I combined all 4 parts of the video into one in Premiere Pro. I was also much more familiar with this software so navigating & adding the sound effects was a breeze.
Fig 9.1 Adding Clips to Sequence, Week 15 (10/7/22)
Fig 11.1 Final Submission of Final Project Motion Comic, Week 15 (10/7/22)
FEEDBACKS
WEEK 9 - 3 ACT STRUCTURE
Good on the setup in Act 1 where there was a quick change in
tone & mood.
The conflict in Act 2 escalated fairly quickly but in an
interesting way. Ms. Anis labeled my style of webtoon
soft storytelling because it doesn't provide much
information regarding Dog's biography. The same goes with Evil
Dog. Next, it will be challenging to differentiate between a
sad Cat & a happy cat during the transitional moments. Ms.
Anis also liked the way that the story keeps the readers on
what is going to happen next.
REFLECTIONS
These two projects really took a toll on me. Because of my extremely bad time management skills, I did not finish the project on the set deadline. Having to complete two projects back-to-back was not enjoyable at all due to the late nights that I pull. Not only that, I have a bone to pick with the insane amount of panels that we have to do for the graphic novel. As someone that does not draw on a daily basis, I had no faith in my drawing skills & which carried forward when I had to sketch out the 60 panels. As a result, I procrastinated doing the project which lead to the last-minute completion. Next, I did not appreciate the fact that we were not taught on how to extensively use Adobe After Effects & instead we had to YouTube/ Google for the tutorials. Also, to be frank, I would never attempt to do a webtoon ever again because of how taxing it is. On a brighter note, I am absolutely proud of the final outcome despite the bad experience. I guess it was all worth it in the end.


Your artstyle matched the theme really well and the motion comic came out looking soo nicee<3
ReplyDeleteThank you gurl!!! Yours is amazing work too <3
Delete